はじめに
藤戸四恩です。Playwright連載の1本目は環境構築について説明します。
Playwrightとは
Playwrightは、Microsoftが開発したE2Eテストフレームワークです。Cypressと同様に、Chromium、Firefox、Safariなどのブラウザ上でE2Eテストの実行を自動化できます。
Playwrightのインストール
Playwrightをインストールするには、npm yarn pnpmのいずれを使用してインストールできます。
今回は、npmを使用します。
Playwrightによるテストを構築したいディレクトリ下で、以下のコマンドを実行します。
npm init playwright@latest |
実行すると初期化に伴うオプションの変更をあれこれ聞かれます。 特にこだわりがなければそのままEnterを押していってください。空白で送信した場合はデフォルト値で設定されます。
$ npm init playwright@latest |
Happy hacking!と表示されたらインストール成功です。
Playwrightの基本的な使い方
test('テストケース名', async ({ page }) => { |
test関数にテストケースを記載を行っていきます。test関数の第1引数には、テストケース名、第2引数にはテスト関数を書きます。
ここでは、よく使う基本的なコマンドをいくつか紹介します。
Webサイトを訪れる
import { test, expect, type Page } from '@playwright/test'; |
page.goto関数内で指定したURLへ遷移します。
要素の取得
要素を取得する際は、コードジェネレータを使って要素名を取得するのが便利です。
下記のコマンドを実行します。
npx playwright codegen https://playwright.dev/ |
実行すると下図のように playwright.devが立ち上がります。
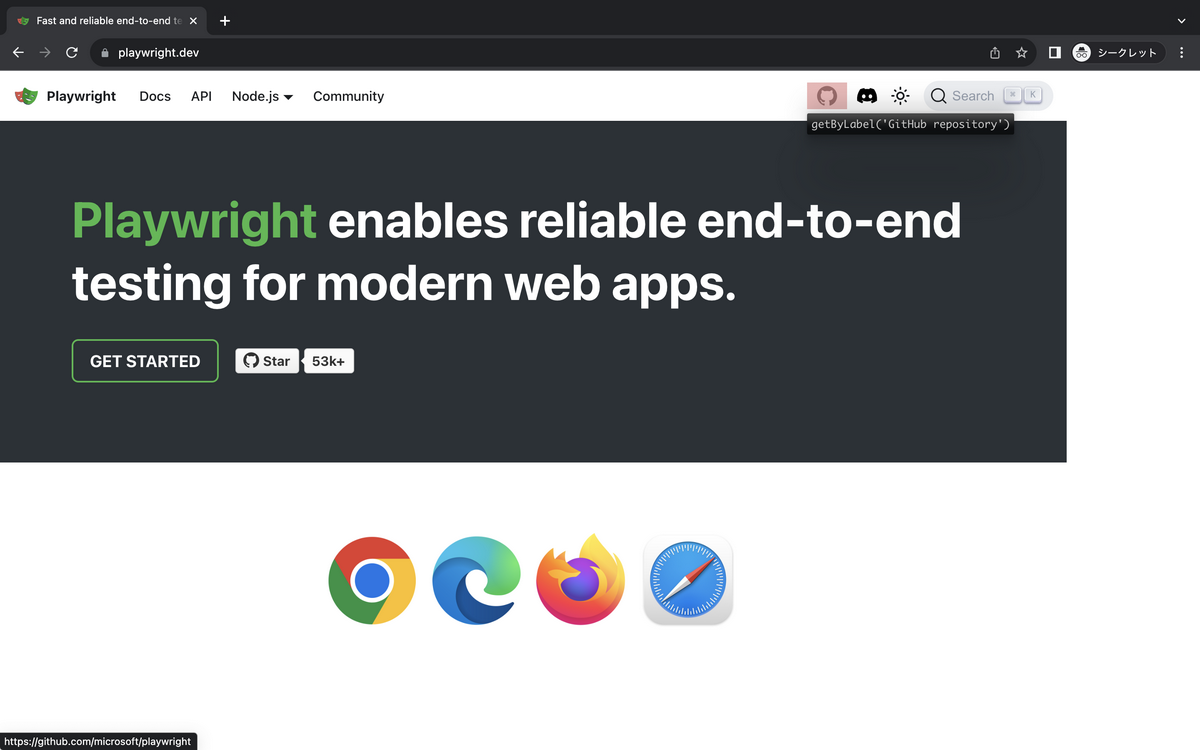
今回はGitHubのアイコンをカーソルを当てるとgetByLabel('GitHub repository')と表示されます。
await page.getByLabel('GitHub repository') |
getByLabel以外にも要素を取得する方法はあります。
要素を操作
GitHubアイコンの要素を取得できたので、クリックをしたいと思います。
クリックは locator.click()です。
※locatorとは、ページ上の要素をいつでも見つけるための方法で先ほどのgetByLabel()などがあてはまります。
await page.getByLabel('GitHub repository').click(); |
また、画面遷移との実装を合わせると下記のようになります。
import { test, expect, type Page } from '@playwright/test'; |
チェックする
GitHubのアイコンをクリックした際に遷移先のURLにplaywrightが含まれることをテストします。
アサーションにもいくつかの種類があります。
今回はURLにplaywrightが含まれているのかを確認するためtoHaveURL()を使用します。
await expect(page).toHaveURL(/.*playwright/); |
これまでの実装と合わせると下記のようになります。
import { test, expect, type Page } from '@playwright/test'; |
テストの実行
全てのテストを実行するには以下のコマンドを実行します。
$ npx playwright test |
用意された9件のテストすべてに成功(passed)したことが表示されました。
テストファイルの指定
ファイル名(今回はtest1.spec.ts)を指定して実行するには以下のコマンドを実行します。
$ npx playwright test tests/test1.spec.ts |
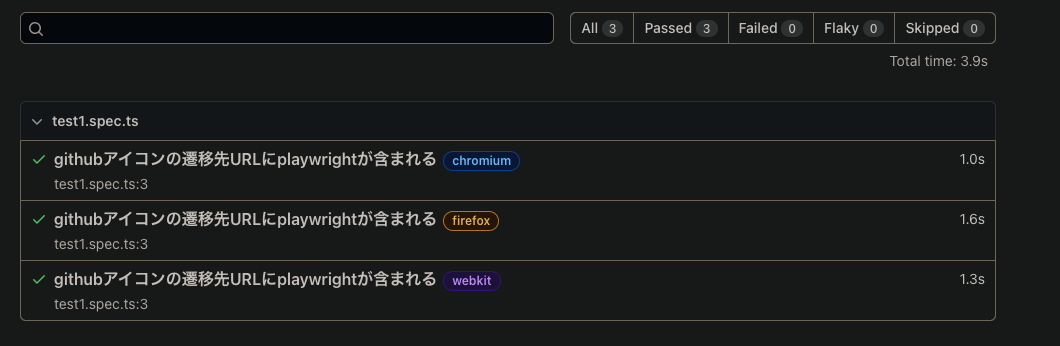
作成した3件のテストすべてに成功(passed)したことが表示されました。
テストレポートの出力
Playwrightでは実行結果をHTMLのレポートとして表示できます。
表示するには以下のコマンドを実行します。
npx playwright show-report |
実行するとブラウザ上で下図のように表示されます。
終わりに
Playwrightのインストール方法と基本的な使い方を紹介しました。
明日は、武田さんのPlaywrightの環境構築(VSCode Dev Container編)です。